Introduction
Clearing the CMOS of a computer often reverts settings to default and resolves a variety of hardware issues. The practice prompts questions, particularly around the timing. Specifically, ‘Do you clear CMOS while the PC is on?’ The short answer is no—it’s risky and generally discouraged. In this article, we’ll explore the function of the CMOS, why you might need to clear it, the risks involved when performed incorrectly, and how to safely clear the CMOS without jeopardizing your system. Finally, we’ll tackle frequently asked questions that arise when dealing with this often misunderstood component of computer maintenance.
Clearing the CMOS isn’t just about punching in the right commands or removing a battery; understanding its role is vital. Let’s start by diving into what CMOS is and why it’s critical to your PC’s operation.

Understanding CMOS and Its Role in Your PC
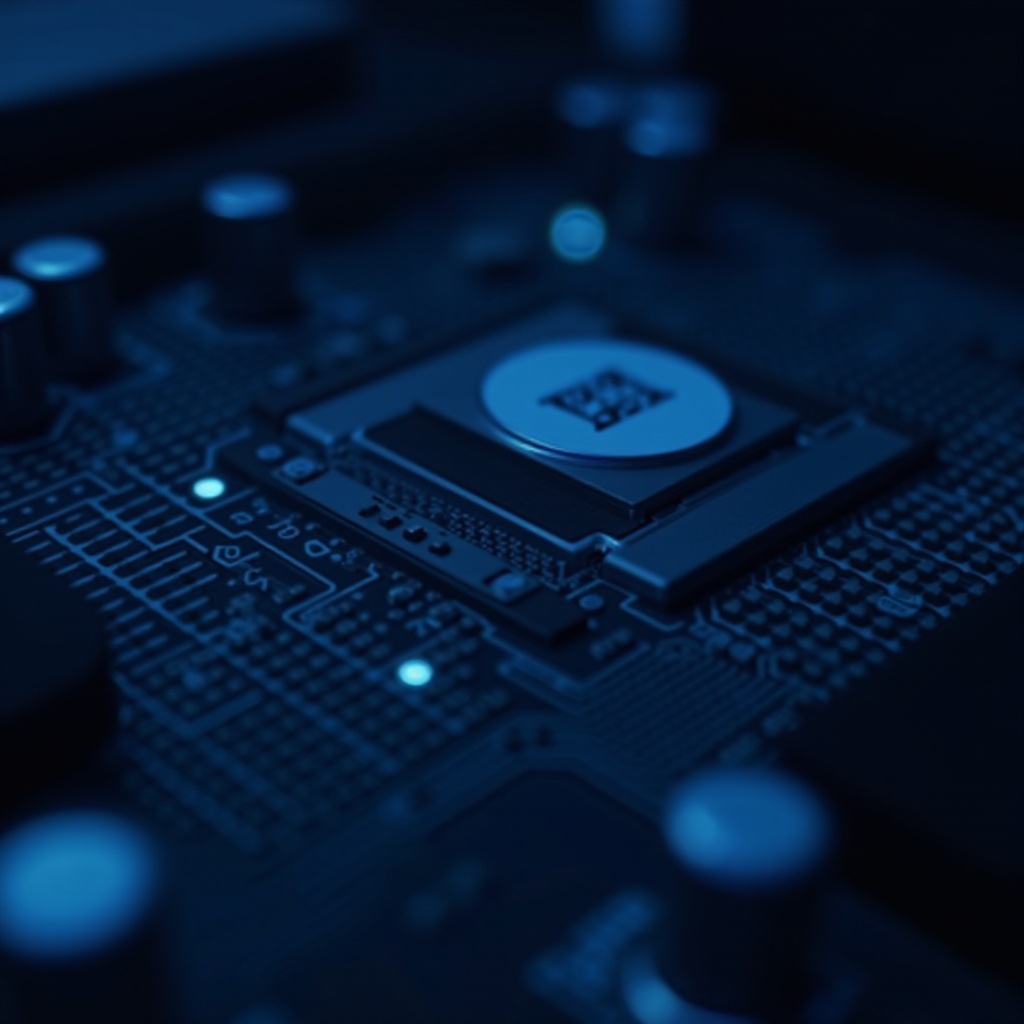
CMOS stands for Complementary Metal-Oxide-Semiconductor. It refers to a small amount of memory on your computer’s motherboard that stores BIOS settings. The BIOS (Basic Input/Output System) is firmware that initializes and manages data flow between the operating system and attached devices like hard drives, video cards, and the keyboard. Essentially, CMOS acts as a caretaker of system configuration, keeping tabs on time, date, and system settings.
Without CMOS, each boot would be less efficient, requiring manual configuration. It uses a battery to maintain settings even when the PC is off, ensuring seamless operation across power cycles. However, settings can become outdated or incorrect with time. This leads to the need for clearing it—a hard reset to restore factory settings. Understanding why and when this action is necessary ensures you’re only doing it when absolutely needed.
Why and When to Clear CMOS
There are several reasons you might consider clearing the CMOS. Each relates to performance optimization or troubleshooting.
- BIOS Updates: Occasionally, a system update requires a reset to function properly with new configurations.
- Hardware Changes: When adding or removing components, clearing CMOS might resolve conflicts.
- Fix Errors: If your PC isn’t booting, or you’re experiencing erratic behavior, removing corroded or erroneous settings can help.
- Overclocking Mistakes: Failed overclocking attempts often necessitate a CMOS reset to revert to safe parameters.
Timing is crucial, however. Often, the decision to clear CMOS follows a detailed examination of symptoms. It’s not a first-step solution. Before doing so, understanding the risks, especially when the device is powered on, is essential.
Risks of Clearing CMOS While the PC Is Powered On
Attempting to clear CMOS with the computer still powered presents significant risks.
- Electrocution Hazard: CMOS is part of the motherboard circuitry, and meddling with components poses a risk of electric shock.
- Data Loss: Unsaved data might be lost, as clearing CMOS resets BIOS settings that manage your data storage devices.
- Component Damage: An active electrical current can short-circuit the motherboard, potentially causing irreversible damage.
- System Instability: Improper resets can lead to inconsistent system behavior, preventing successful booting or leading to configuration errors.
Understanding these risks highlights the importance of patience and proper procedures. While the prospect of having to reset the CMOS during operations can be daunting, there are clear methods to ensure safety.
How to Safely Clear CMOS
To conduct a CMOS reset safely, following a structured approach is crucial. By preparing adequately and adhering to the right steps, you protect both yourself and your computer hardware.
Preparing Your PC for a CMOS Reset
- Backup: Always back up important files before performing a CMOS reset.
- Turn Off the Computer: Shut down your PC and unplug it from the power source.
- Discharge Residual Power: Press the power button after unplugging to discharge any remaining power.
Step-by-Step Clearing Methods
Here are the most common methods to clear CMOS:
- Motherboard Jumper:
- Locate the CMOS jumper on the motherboard.
- Typically, it’s near the battery and labeled CLEAR or RESET.
- Use a small cap to cover the jumper pins differently than the default.
- Wait a few seconds.
-
Return the jumper to its original position.
-
Battery Removal:
- Identify the CMOS battery (a coin-sized lithium cell).
- Gently release it from its holder.
- Wait 5–10 minutes for the charge to dissipate entirely.
-
Reinsert the battery carefully.
-
BIOS Menu Option:
Access the BIOS during boot (frequently by pressing DEL, F2, or F10) and select the ‘Load Setup Defaults’ option.
Ensuring Safe Handling and Recovery
- Verify: After resetting, make sure to verify that default settings suit your hardware and software configuration.
- Adjust: Reconfigure BIOS settings, such as boot order and date/time, as necessary.
- Test: Power on your PC to ensure systems are returning to normal operation and functioning correctly.
Conclusion
Clearing CMOS must be done with precision and caution. Understanding the function of CMOS, the timing for clearing it, and recognizing the potential dangers involved guides the process. Always follow safe procedures and ensure you’re acting methodically. If done correctly, it’s a valuable tool for resolving configuration issues and maintaining your PC’s performance.
Frequently Asked Questions
What happens if I clear CMOS while my PC is on?
Clearing CMOS while the PC is on risks damaging the motherboard and other components. It can lead to electric shock or short circuits, causing system instability or failure.
How often should I clear CMOS on my PC?
Clear CMOS only when necessary—during troubleshooting or hardware changes. Routine clearing is not required unless persistent configuration issues arise.
Can clearing CMOS fix boot-related problems?
Yes, clearing CMOS can be effective for resolving certain boot-related issues. It resets BIOS settings to default, which can correct misconfigurations causing boot failures. Always back up data and follow safe procedures when attempting this troubleshooting method.