Introduction
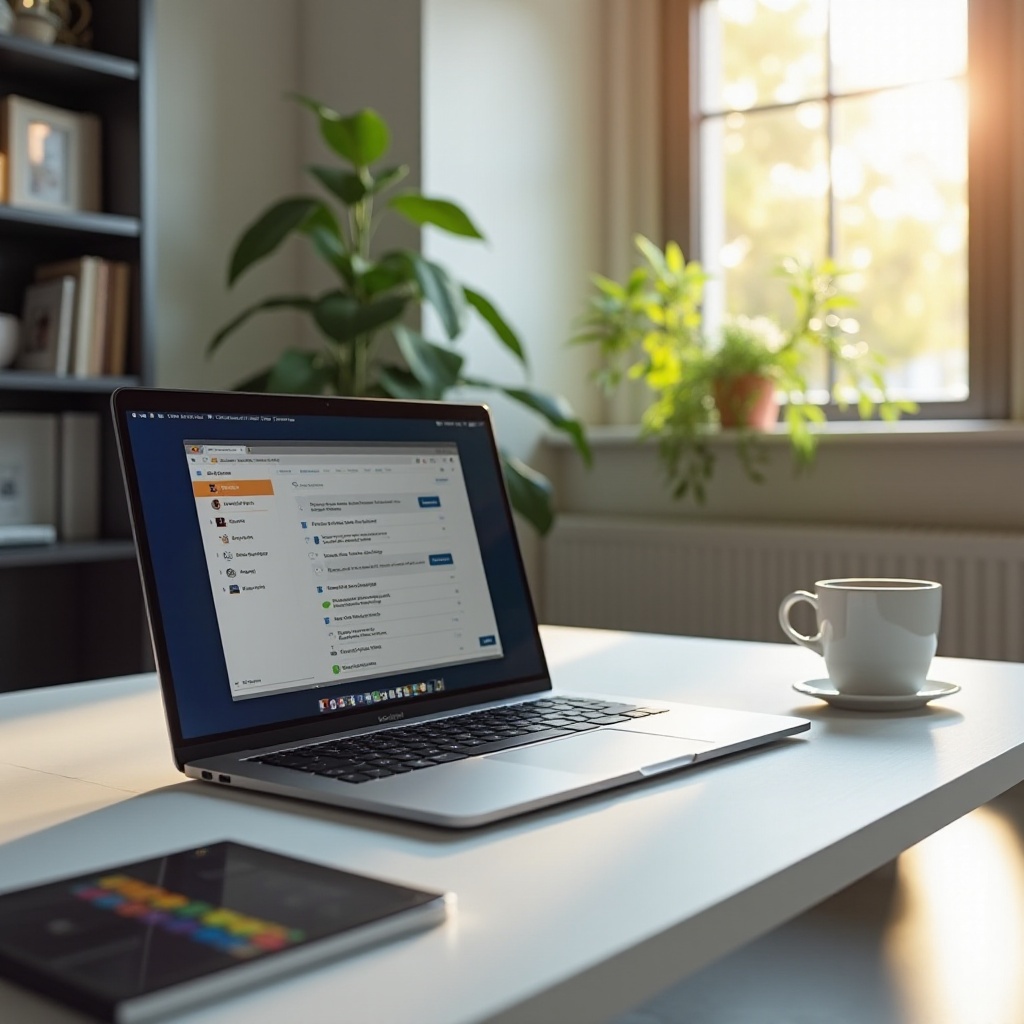
Soundtrap is a versatile online digital audio workstation (DAW) that allows users to record, edit, and produce music directly from their browser. One of the challenges Chromebook users might face is the lack of a traditional microphone. Whether it’s because you forgot your mic at home or simply don’t want to invest in one, knowing how to record on Soundtrap without a mic on Chromebook can be quite beneficial.
In this guide, we will delve into various ways to achieve high-quality recordings using alternative methods. From setting up your Chromebook for optimal performance to practical tips for ensuring your recordings are of the highest standard, this article covers everything you need to know.
Preparing Your Chromebook for Recording
Before diving into the recording process, it’s essential to prepare your Chromebook to ensure optimal performance. Here are some steps to follow:
-
Update Your Chromebook: Make sure your Chromebook is up to date with the latest software. This ensures you have the latest features and security updates, which can impact your recording experience.
-
Clear Unnecessary Files: A clutter-free device runs faster and performs better. Delete unnecessary files and close any background applications to free up memory and processing power.
-
Check Sound Settings: Go to the settings menu and ensure your internal microphone (if available) is enabled and working correctly. Adjust the input sensitivity to avoid overly loud or too-soft recordings.
-
Stable Internet Connection: As Soundtrap is an online tool, a stable and fast internet connection is crucial. Ensure your connection is reliable to avoid interruptions during your recording sessions.
With these preparations, your Chromebook will be ready to handle the recording process efficiently.
Using Built-in Tools for Recording
Chromebooks come equipped with built-in tools that can be used for recording audio. Here’s how you can make the most of them:
-
Internal Microphone: Most Chromebooks come with a built-in microphone. While it may not offer studio-quality sound, it can be sufficient for basic recordings. Access it by opening the Soundtrap app, creating a new project, and selecting the internal microphone as your input device.
-
Web-based Apps: Numerous web-based apps, like Voice Recorder and Online Voice Recorder, offer recording capabilities. Use these apps to record your audio and import the files into Soundtrap for further editing.
-
Google Meet: Surprisingly, you can use Google Meet for recording audio. Start a meeting, and with nobody else invited, use the built-in recording feature. Save the recording and import it into Soundtrap for editing.
Using these built-in tools, you can capture audio directly onto your Chromebook and use it in your Soundtrap projects.
External Alternatives to Microphones
If you are looking for alternatives to traditional microphones, consider these external devices:
-
USB Headsets: USB headsets with built-in microphones offer a decent audio quality improvement over the internal microphone. Just plug it into your Chromebook, and it should be easily recognized as an input device in Soundtrap.
-
External Sound Cards: Devices like iRig or other USB sound cards can connect directly to your Chromebook. These enable you to use traditional microphones or musical instruments with your Chromebook, expanding your recording capabilities.
-
Smartphone as Microphone: Use apps like WO Mic to turn your smartphone into a wireless microphone that connects to your Chromebook. This can significantly enhance the recording quality over the built-in mic.
These external alternatives ensure you have a range of options depending on your budget and quality requirements.
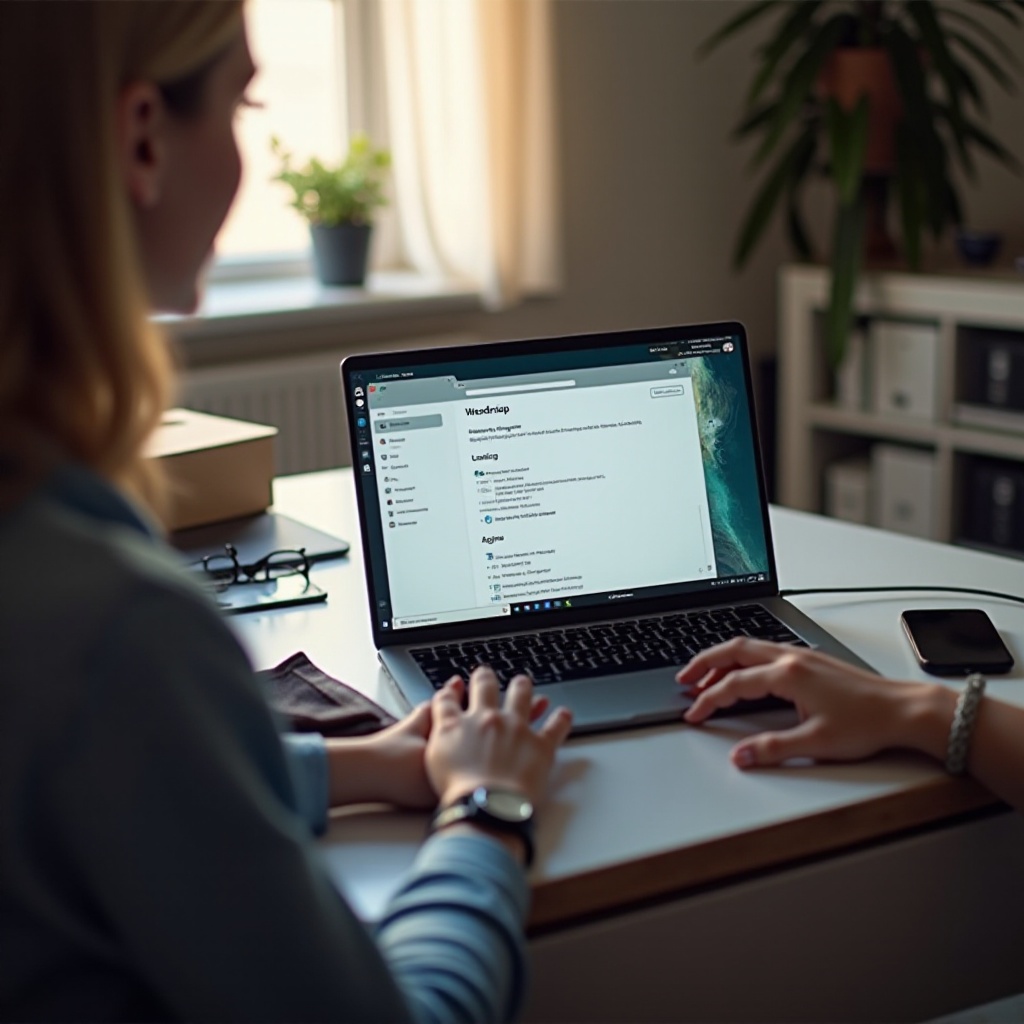
Setting Up Soundtrap for Best Performance
To ensure the best performance, proper setup of Soundtrap is essential. Here’s what you need to do:
-
Create an Account: Sign up for a Soundtrap account if you haven’t already. This gives you access to all the features and allows you to save your projects.
-
Set Input Device: Navigate to the studio settings and select the appropriate input device (internal mic, USB headset, or other external device). Adjust the input level to balance the sound.
-
Optimize Project Settings: Choose the right sample rate and bit depth for your project. Higher settings result in better quality but require more processing power.
-
Latency Settings: Adjust the latency settings to ensure the recorded tracks sync accurately with each other. This is crucial to prevent any delays or sync issues.
Optimizing these settings ensures a seamless recording experience on Soundtrap.
Practical Tips for Quality Recordings
Recording quality can be improved with some practical tips:
-
Quiet Environment: Record in a quiet environment to minimize background noise. Close windows and doors and turn off any noise-generating appliances.
-
Proper Positioning: If using the built-in microphone or an external device, position it correctly. Keep it at an optimal distance from your mouth to avoid distortion or low volume.
-
Soundproofing: Use soft furnishings like rugs, curtains, and pillows to reduce echo and reverb in the room.
-
Consistent Levels: Maintain a consistent speaking or singing volume throughout the recording. Adjust the microphone sensitivity to avoid clipping or peaking.
-
Multiple Takes: Record multiple takes of the same segment to ensure you have options. It allows you to choose the best parts for the final edit.
These tips can go a long way in ensuring your recordings are of professional quality.
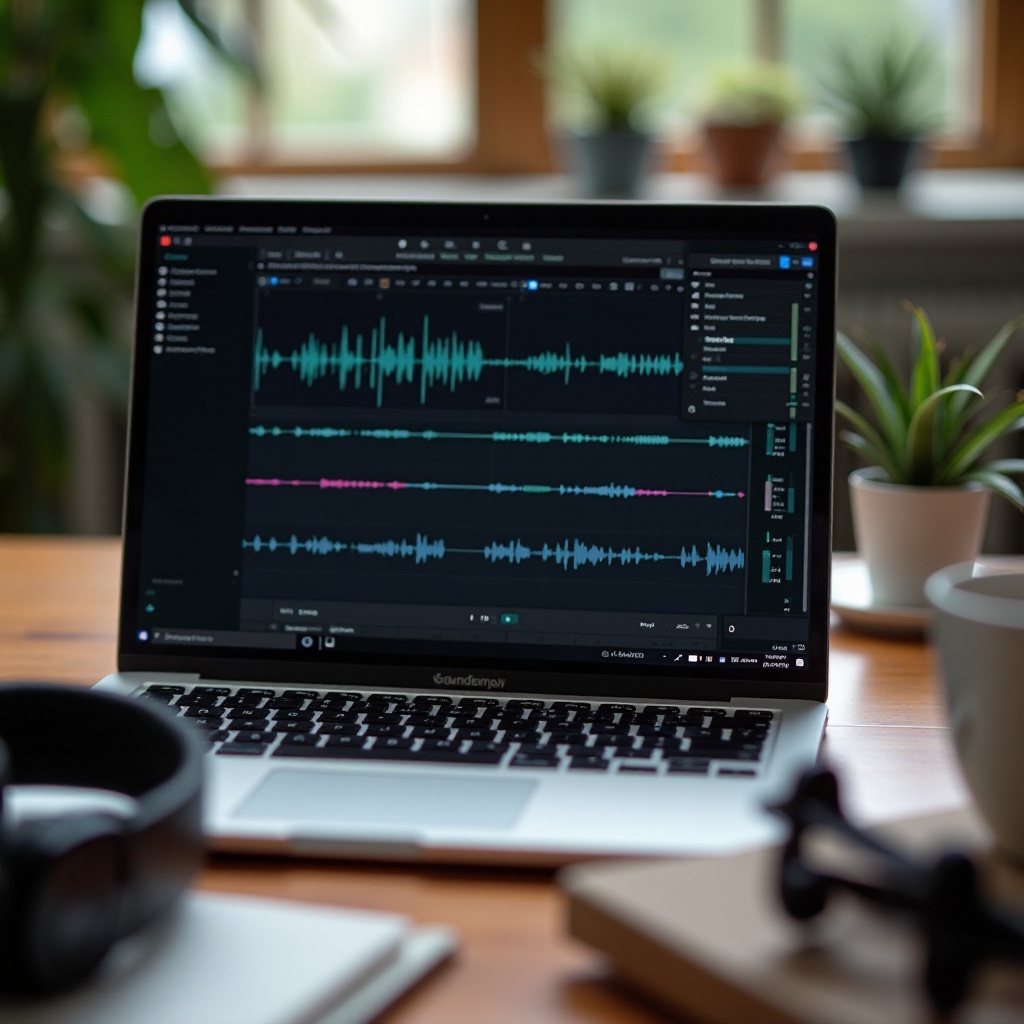
Editing Your Recordings on Soundtrap
Once you have your recordings, editing them to achieve the desired sound is the next step. Here’s how to edit on Soundtrap:
-
Trim and Cut: Use the trim and cut tools to remove unwanted parts of your recording. This helps in getting rid of mistakes and extra noise.
-
Effects and Filters: Apply effects and filters like equalization, compression, and reverb to enhance the audio quality. Adjust these effects to suit your recording.
-
Arrange and Layer: Arrange multiple tracks to create a seamless flow. Layer different takes and sounds to add depth to your project.
-
Volume Adjustments: Ensure all tracks are balanced in volume. Use automation to adjust volume levels dynamically throughout the track.
-
Mix and Master: Finally, mix and master your track to create a polished final product. Use Soundtrap’s built-in tools to ensure the final mix sounds professional.
Editing can transform raw recordings into polished, professional-sounding projects.
Troubleshooting Common Issues
Despite best efforts, you may encounter issues during the recording process. Here are some common problems and their solutions:
-
Latency Issues: If there’s a delay between recording and playback, adjust the latency settings in Soundtrap. Reduce buffer size if possible.
-
Background Noise: Minimize background noise by recording in a quieter environment or using noise reduction tools in Soundtrap’s editing suite.
-
Distorted Audio: Ensure the input levels are not too high. Reduce the sensitivity or move the microphone further from the sound source.
-
Connection Problems: If using external devices, ensure they are correctly connected and recognized by your Chromebook and Soundtrap.
By addressing these issues, you can ensure smooth and successful recording sessions.
Conclusion
Recording on Soundtrap without a mic on a Chromebook is entirely feasible with the right tools and techniques. From utilizing built-in tools to exploring external alternatives and optimizing settings, various approaches can help you achieve high-quality recordings. With practical tips and effective editing, you can transform your recordings into professional-sounding projects. Armed with this knowledge, you’re ready to embark on creating and recording your music directly from your Chromebook.
Frequently Asked Questions
Can I use Soundtrap on my Chromebook without any external devices?
Yes, you can use Soundtrap with the built-in microphone on your Chromebook. While it may not provide the best quality, it is suitable for basic recordings.
What are the best practices to reduce background noise during recording?
Record in a quiet environment, use soft furnishings to minimize echo, and ensure the microphone is positioned correctly. Additionally, use noise reduction tools during the editing process.
How can I improve the audio quality of my recordings on Soundtrap?
Use an external USB headset or sound card for better quality. Follow practical recording tips, and utilize Soundtrap’s editing tools to enhance and polish your recordings.