Introduction
Uploading photos from your phone to a Windows computer is essential for freeing up storage space and ensuring your memories are safely backed up. Whether you’re transferring photos for work or personal use, there are multiple methods available to make this process seamless and efficient. In this comprehensive guide, we’ll explore various techniques, including using a USB cable, Bluetooth, cloud storage services, and wireless transfer apps. By the end of this guide, you’ll be equipped with all the necessary tools and knowledge to easily and securely upload your photos from your phone to your Windows computer, regardless of the method you choose.

Using a USB Cable
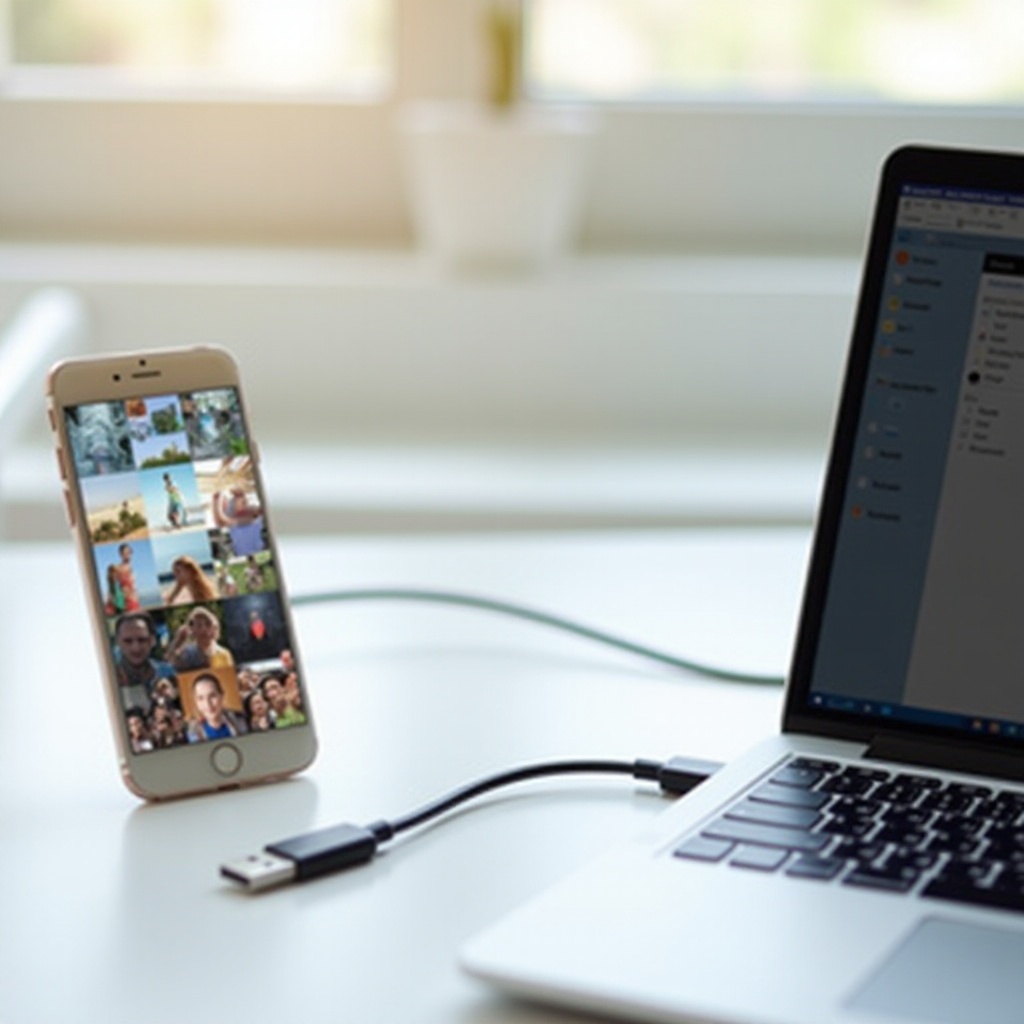
One of the most straightforward methods to upload photos from your phone to a Windows computer is by using a USB cable. This method ensures a fast and secure transfer of data, making it ideal for large volumes of photos.
- Connect Your Phone to Your Computer: Use the USB cable that came with your phone to connect it to a USB port on your Windows computer.
- Select the Transfer Mode: Once connected, you may see a notification on your phone asking you to select a connection type. Choose ‘File Transfer’ or ‘Transfer photos (PTP)’.
- Open File Explorer: On your computer, open File Explorer and locate your phone in the list of devices and drives.
- Locate Your Photos: Navigate to the folder where your photos are stored. For most Android phones, this is typically in the ‘DCIM’ folder.
- Select and Copy Photos: Select the photos you want to transfer, right-click, and choose ‘Copy’. Navigate to the destination folder on your computer, right-click, and select ‘Paste’.
Transferring photos using a USB cable is reliable and does not depend on internet connectivity, ensuring that your files are transferred quickly and securely.
Using Bluetooth
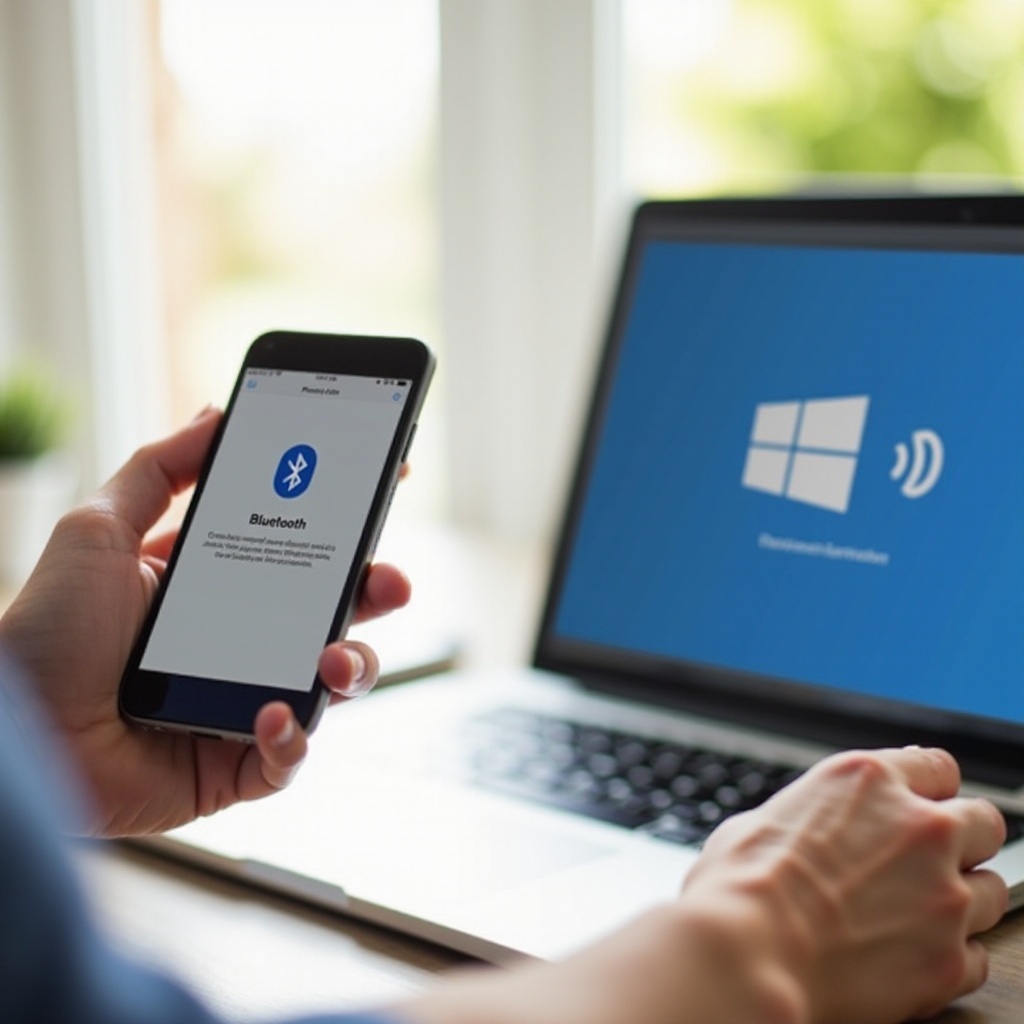
If you prefer a wireless option, Bluetooth is a viable alternative for transferring photos from your phone to a Windows computer. This method is ideal for transferring a few photos and does not require any cables.
- Enable Bluetooth on Both Devices: Ensure that Bluetooth is turned on for both your phone and your Windows computer.
- Pair Your Devices: On your computer, go to ‘Settings’ > ‘Devices’ > ‘Bluetooth & other devices’ and click ‘Add Bluetooth or other device’. Choose ‘Bluetooth’ and find your phone in the list of available devices. Once found, follow the prompts to pair your devices.
- Send Photos via Bluetooth: On your phone, go to your photo gallery, select the photos you want to transfer, and select the ‘Share’ option. Choose Bluetooth as the sharing method and select your computer from the list of paired devices.
- Accept the Transfer on Your Computer: A notification should appear on your computer asking you to accept the incoming file(s). Click ‘Accept’ and choose the destination folder for the photos.
Though relatively simple, Bluetooth transfer can be slow, especially for larger files, and works best for a limited number of photos.
Employing Cloud Storage Services
Using cloud storage services is another excellent method for transferring photos, especially if you want access to your photos from multiple devices. Services like Google Photos, OneDrive, and Dropbox make this process effortless.
Google Photos
- Install the Google Photos App: Ensure the Google Photos app is installed on your phone and signed in with your Google account.
- Backup Your Photos: Open the Google Photos app, go to ‘Settings’ > ‘Backup & sync’, and enable the feature to automatically back up your photos to the cloud.
- Access Google Photos on Your Computer: On your Windows computer, open your web browser and go to photos.google.com. Sign in with the same Google account.
- Download Photos: Navigate through your photos and select the ones you want to download. Click on the download icon to save them to your computer.
OneDrive
- Install the OneDrive App: Download and install the OneDrive app on your phone and sign in with your Microsoft account.
- Upload Your Photos: Open the OneDrive app and upload photos by selecting the ‘Add’ option.
- Sync OneDrive on Your Computer: On your Windows computer, ensure OneDrive is set up and sync your account. Go to OneDrive in File Explorer to find your uploaded photos.
Dropbox
- Install the Dropbox App: Download and install the Dropbox app on your phone.
- Upload Photos to Dropbox: Open Dropbox, select the photos you want to upload, and tap ‘Upload’.
- Access Dropbox on Your Computer: On your computer, open Dropbox in your web browser or the desktop app, navigate to your uploaded photos, and download them.
These cloud storage options provide flexibility and convenience, allowing you to access and manage your photos from any device with internet access.
Utilizing Wireless Transfer Apps
Wireless transfer apps offer a quick and efficient way to upload photos from your phone to a Windows computer without relying on cables or traditional methods. These apps often use Wi-Fi to facilitate fast transfers and offer additional features.
- Install a Transfer App: Download and install a wireless transfer app such as AirDroid, SHAREit, or Xender on both your phone and your Windows computer.
- Connect Devices: Ensure both devices are connected to the same Wi-Fi network. Open the app on both devices and follow the instructions to establish a connection.
- Select and Transfer Photos: On your phone, select the photos you want to transfer and use the app’s ‘Send’ or ‘Transfer’ feature to start the process. Accept the incoming files on your computer, and choose a destination folder.
Wireless transfer apps can be incredibly efficient and are ideal for users looking for a cable-free solution with the added benefit of additional functionalities.
Conclusion
Transferring photos from your phone to a Windows computer doesn’t have to be complicated. Whether you choose a direct method using a USB cable, a wireless method like Bluetooth, a digital cloud solution, or a dedicated wireless transfer app, each of these methods has its advantages and can cater to different needs. This comprehensive 2024 guide ensures that you have multiple reliable ways to safely and efficiently transfer your photos, so you can preserve your memories without hassle.
Frequently Asked Questions
What is the best method for transferring a large number of photos?
Using a USB cable is often the best method for transferring a large number of photos. It ensures a faster and more stable transfer process without relying on wireless connectivity.
How can I ensure my photos are securely stored after transfer?
To ensure your photos are securely stored after transfer, consider using backup solutions such as cloud storage services like Google Photos, OneDrive, or Dropbox. Additionally, regularly back up your photos to an external hard drive for added security.
Are there any file size limitations when transferring photos using Bluetooth?
Yes, Bluetooth typically has file size limitations and transfer speed constraints, making it less ideal for large files. It’s recommended to use Bluetooth for smaller files and fewer photos to avoid extended transfer times.