Introduction
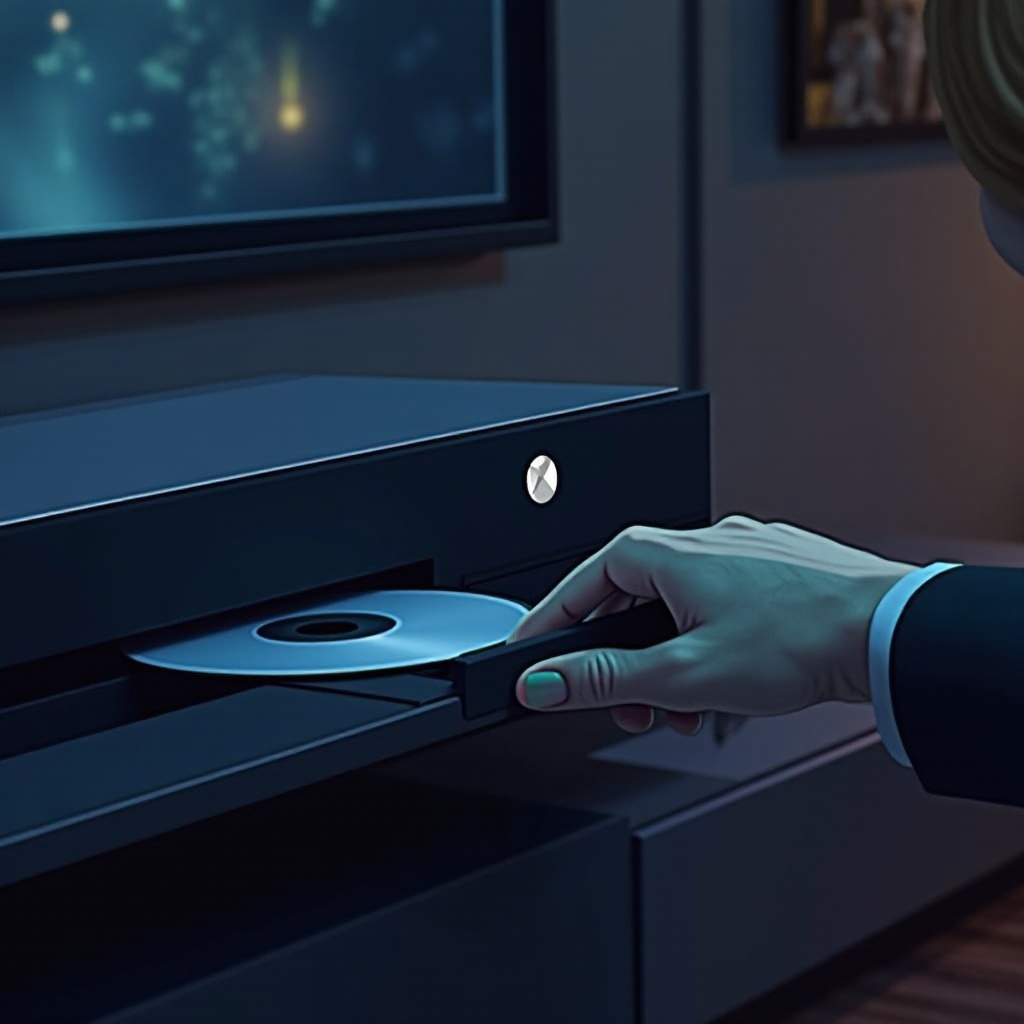
For many Xbox One users, the frustration of dealing with a stuck disc can turn a pleasant gaming session into a vexing ordeal. Understanding how to safely and effectively eject a disc is crucial for maintaining the health of both your games and your console. This guide will walk you through various techniques to address this common issue, ensuring that your entertainment sessions remain uninterrupted. By mastering these methods, you’ll be better equipped to handle any disc-related challenges.
Understanding the Xbox One Disc Ejection System
The heart of the Xbox One’s functionality lies in its sophisticated disc ejection system, a mechanism that aids seamless and safe disc removal. This automated system relies on triggers from either the hardware eject button or software instructions. With its focus on safeguarding your media, it balances efficiency and sensitivity. Delving into how this system operates can prevent mishaps and inform you on correctly managing disc retrieval, paving the way for successful interventions if issues occur.
Quick Solutions to Eject a Disc
Oftentimes, addressing disc ejection on an Xbox One can be simple and quick. This section provides immediate solutions:
Using the Eject Button
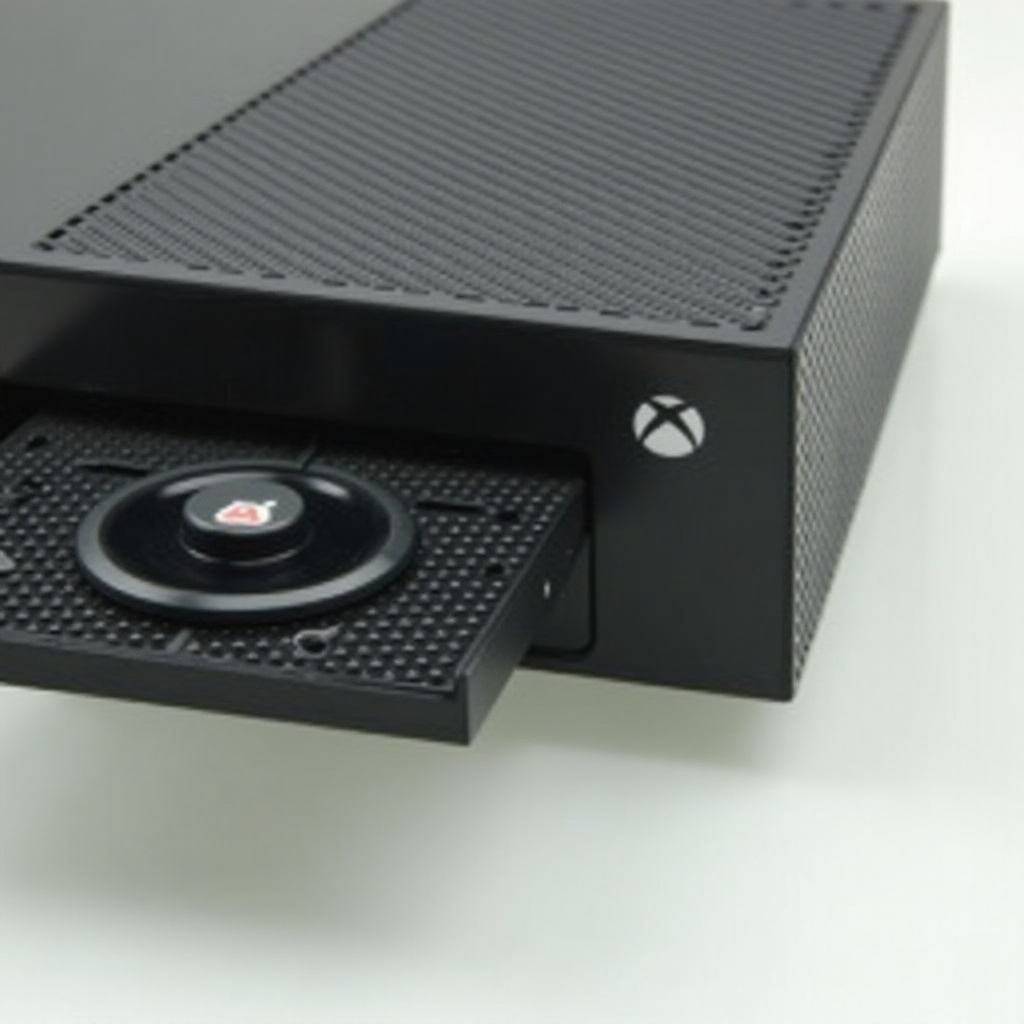
- Locate the Eject Button: Typically situated on the console’s front, adjacent to the disc slot.
- Press and Hold: Lightly press the button. If necessary, hold it briefly to activate the mechanism.
- Wait for the Disc: In the absence of mechanical issues, the disc should eject smoothly.
Ejecting via Console Menus
- Turn on Your Xbox One: Ensure your console is active and your controller is synced.
- Open the Guide: Press the Xbox button on the controller to launch the guide menu.
- Navigate to Home: Use the directional pad or joystick to highlight ‘Home’ and select it.
- Select the Eject Option: Navigate to settings and choose the ‘eject disc’ option to facilitate disc removal.
With these quick-fix strategies, you’ll be prepared to tackle more stubborn issues with advanced techniques next.
Advanced Techniques to Remove a Stuck Disc
When basic methods fail, advanced interventions may be required to remove a disc:
Manual Eject Using a Paperclip
- Power Off Your Console: Disconnect it from power to enhance safety.
- Find the Manual Eject Hole: Typically located near the disc slot, it’s designed for manual procedures.
- Insert the Paperclip: Unwind a paperclip and gently insert it into the manual eject hole.
- Apply Pressure: With gentle pressure, push until the disc begins to emerge.
Utilizing the Xbox Assist App
- Access the App: Once your Xbox One is powered on, navigate to the Xbox Assist app via the controller.
- Search for ‘Eject Disc’: Use the app’s search function for guidance on disc ejection.
- Follow Instructions: Adhere to app-provided steps for a tailored solution to your disc problem.
These advanced solutions enhance your ability to manage serious ejection challenges effectively, leading up to troubleshooting physical ejection difficulties.
Troubleshooting Common Eject Issues
Not all ejection problems stem from mechanical failures; sometimes, recognizing subtler issues is crucial:
Identifying Disc Drive Malfunctions
- Unresponsive Eject Button: A non-responsive button might indicate a malfunction in the ejection assembly.
- Odd Noises: Unusual sounds like clicking or grinding can hint at internal issues.
- Persistent Sticking: Repeated ejection troubles may point to alignment or hardware problems within the drive.
Recognizing Physical Damage Signs
- Scratched Discs: Damage or dirt can hamper disc ejection.
- Warped Discs: Bending may interfere with smooth ejection.
- Blocked Slots: Check for dust or foreign objects obstructing the disc slot.
Acknowledging these complications empowers you to mitigate damage and discern when professional intervention is advised.
Preventing Disc Ejection Problems in the Future
Preservation of your Xbox One and its functionality depends largely on proper maintenance and care:
Keeping Discs Clean and Scratch-Free
- Store Discs Properly: Utilize original cases to avoid scratches.
- Handle with Care: Avoid contact with the disc’s readable surfaces.
- Regular Cleaning: Use a microfiber cloth to clean discs before they enter the drive.
Regular Xbox Console Maintenance
- Keep it Dust-Free: Routinely clean the console’s exterior to minimize dust accumulation.
- Position Properly: Ensure the console sits on a stable, level surface.
- Avoid Overheating: Maintain good ventilation to prevent overheating, which could worsen disc ejection troubles.
By adopting these preventive measures, you safeguard your console’s longevity and enjoy consistent gaming experiences.
When to Seek Professional Assistance
Consider expert help if eject-related issues persist beyond your DIY attempts, particularly in cases of suspected internal damage. Certified professionals are equipped to handle console repairs, ensuring optimal performance.
Conclusion
With the right knowledge and tools, resolving Xbox One disc ejection concerns can be straightforward. By concentrating on preventive care and learning basic troubleshooting steps, you not only enhance your gaming setup’s protection but also gain the confidence to address future challenges. Should obstacles persist, professional assistance is a sound approach to preserving your console’s integrity.
Frequently Asked Questions
Why won’t my Xbox One eject discs?
This issue could arise from mechanical faults, drive malfunctions, or software glitches. Begin by trying simple solutions like the eject button or software commands.
Is it safe to use a paperclip to manually eject a disc?
Yes, using a paperclip is safe when done carefully. Ensure the console is turned off and apply gentle pressure to avoid damage.
How often should I clean my Xbox One console?
Regular cleaning, at least once a month, is recommended to prevent dust buildup and ensure optimal performance.